The purpose of this article is to provide step by step instructions for all faculty and staff to create and submit a ticket through the Kaseya Ticketing system.
Step 1
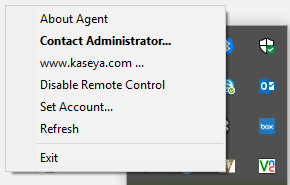
At the lower right corner of the desktop is an icon that looks like a golden V on a white background (the Vanderbilt Logo). This icon is the Kaseya agent icon that you will right click on and then click on the Contact Administrator from the context menu.
Step 2
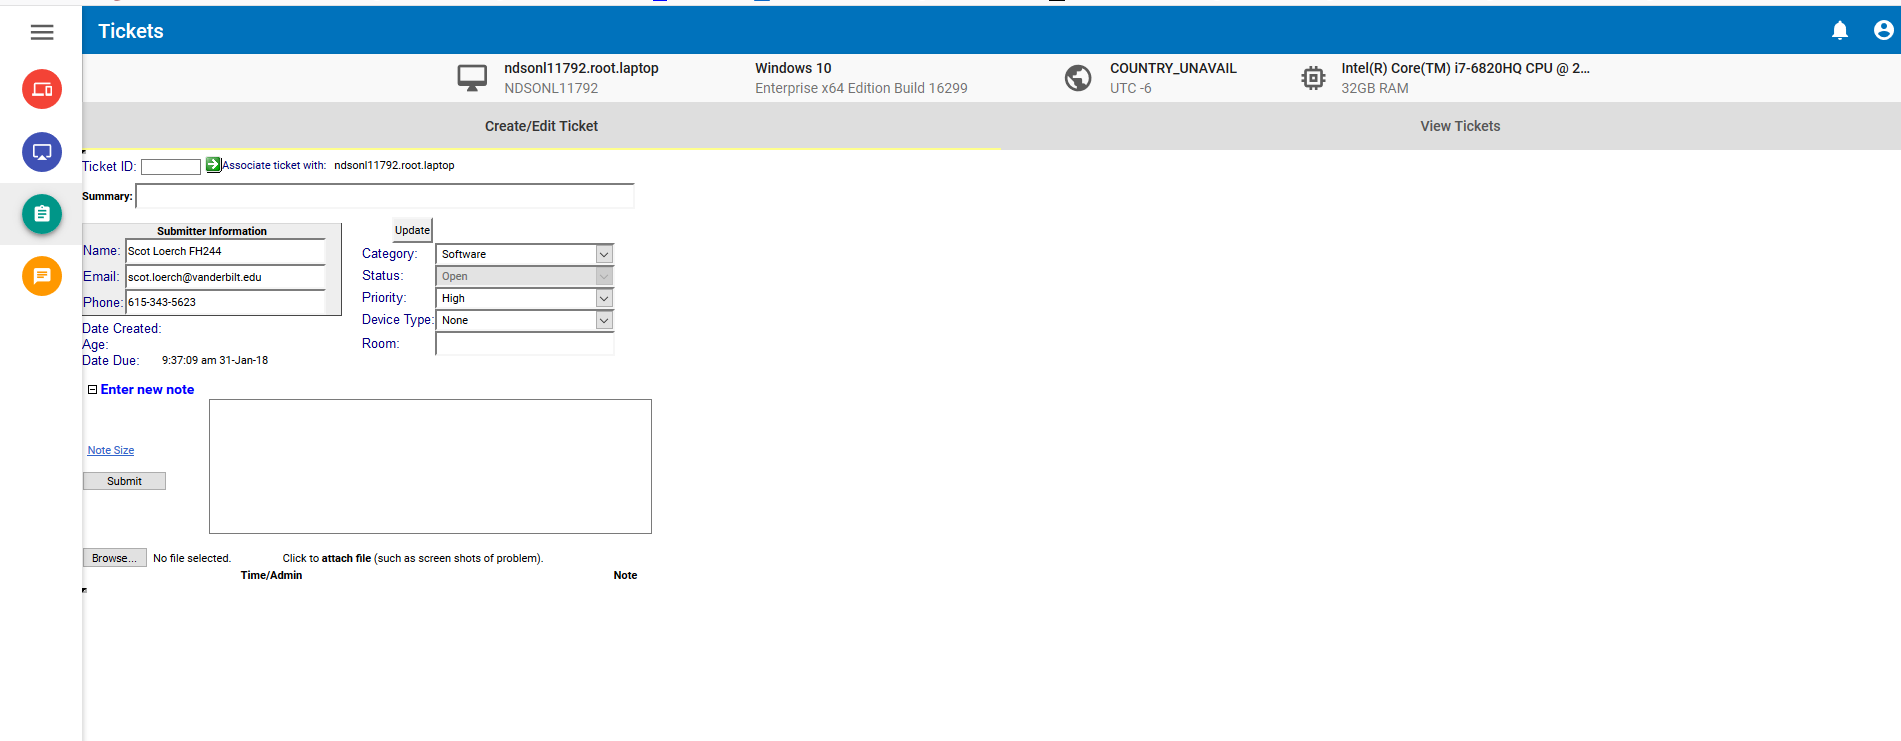
Once the Contact Administrator is selected and clicked on a web browser launches into the Kaseya administrator screen. Along the left side of the browser window there are 4 circular icons. The third one down is the Ticketing icon that you click on the ticket creation window opens within the browser.
Step 3
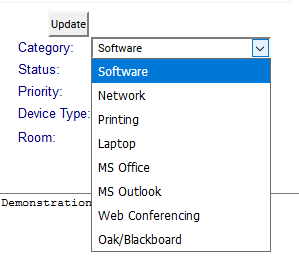
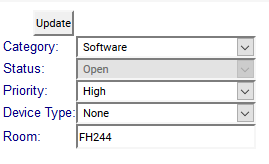
The submitter information section should be filled out, and to the right of that area are a group of drop down options. These will need to be completed and accurate to the nature of your issue.

Please be mindful of what the priority levels that are assigned to a ticket mean:
High: Is technical problem that constitutes the end user not able to perform their daily job functions.
Medium: Deals with any technical support issues that are not job function prohibitive, but need to be addressed in a timely manner.
Low: These are a majority of the technical support issues that are faced on a daily basis, but do not merit a medium or high labeling. These issues do not inhibit you from completing your daily job functions.
Once fully filled out, the menu should look like the following:
Step 4
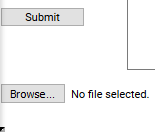
Once filled out simply click the submit button and an email will be sent to the administrator notifying us of the tech support issue. Please allow ample time for us to complete these tasks.