The purpose of this article is to provide a step-by-step procedure for setting up and registering an exam in the Brightspace learning environment.
Step 1
Step 2
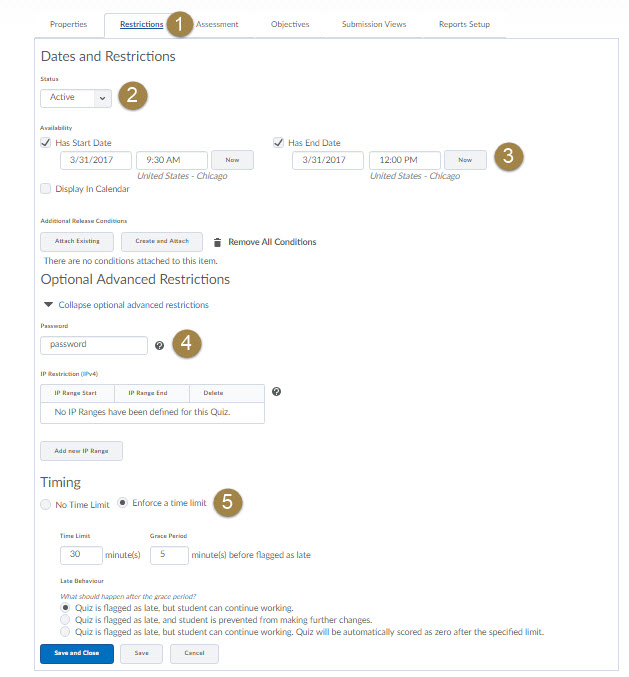
- Under the
Restrictionstab ensure your exam is active and has a start and end date. If this is a practice exam that will remain active for the semester, there is no need for start and end dates. - Your exam must have a password to be registered in RPNow
- Be sure to enforce a time limit if the exam has one.
TIP: As soon as you activate a quiz it will be available for students to view. If you want students to see/take the quiz at a specific time, use the Has Start Date and Has End Date check boxes. Remote Proctor uses these dates and times for exam availability. Checking Display In Calendar will automatically populate the students’ course schedules with the quiz date.
Step 3
Register your exam in RPNow
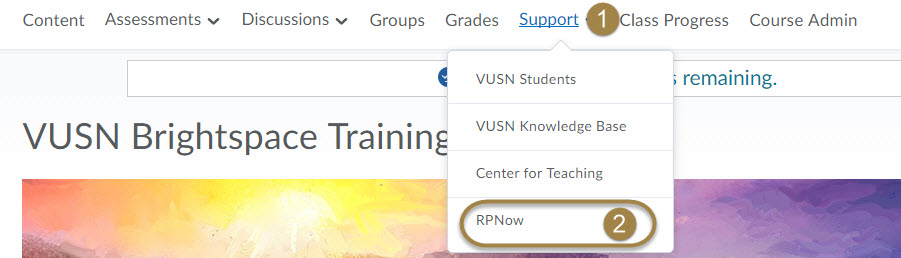
- Click
Support - Click
RPNow
Step 4
Click on Register RPNow Exams

Step 5
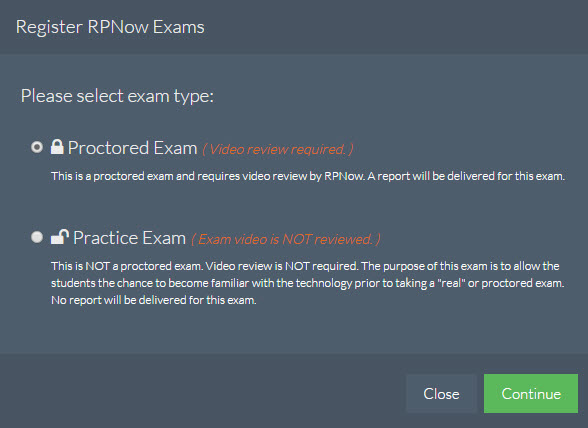
Select whether this is a Proctored Exam or Practice Exam
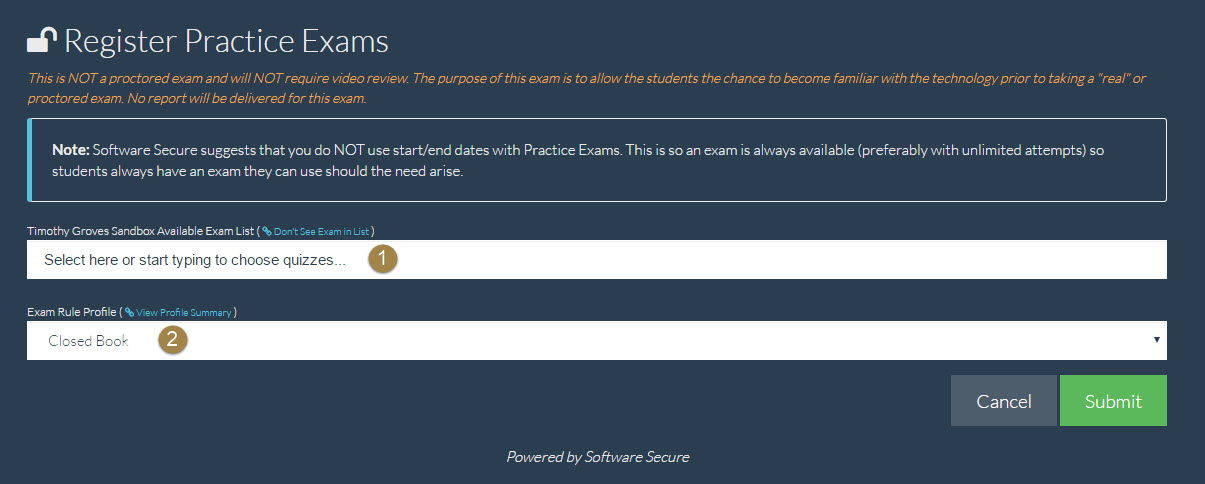
Step 6
- Select the exam you want to register
- Select the exam rule profile
TIP: For help setting up a profile, please see Create Exam Rule Profile
Step 7
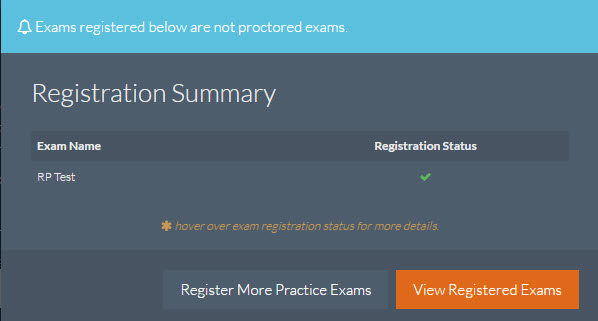
Once you click Submit you will see a registration summary.
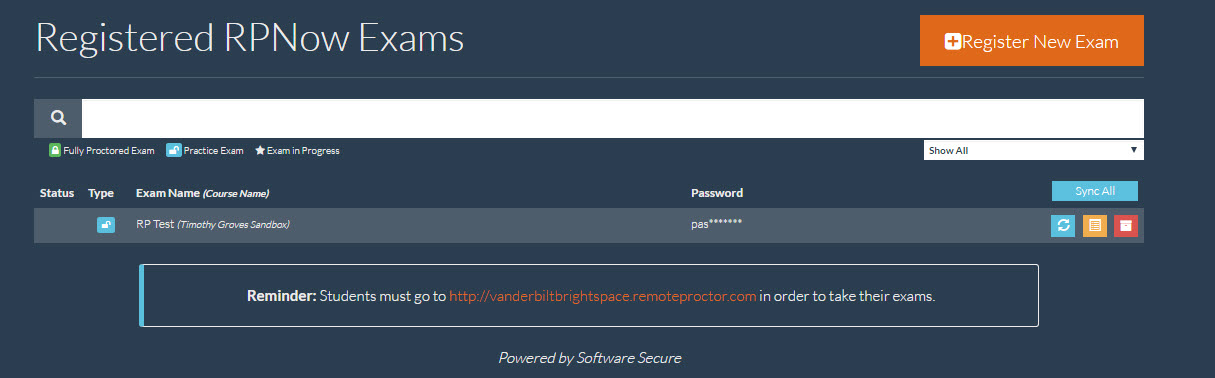
Step 8
Now when you go back to your RPNow Home screen you will see a list of your registered exams.